What I would include in a basic comic drawing kit
I'm planning a comic drawing course for a school next year. So I've to assemble a basic comic drawing kit containing just the essentials to hand to students when class starts.
If you are new to drawing comics and want to get started, or you want to gift someone who likes to draw with a basic comic drawing kit, you could use this list to put one together.
WHAT I WAS AIMING FOR:
1. It should cost SGD$30 (US$22) or less.
2. It's portable. Because they will be carrying it to class and back. I also want to encourage students to draw wherever they are, not just in a classroom or at a desk. The materials should make it easy for them to draw on a bus, in a park, at a cafe, on the train, pretty much anywhere!
3. Mess-free (as much as possible). This doesn't mean it can't get messy at all. It just means it would be relatively easy to avoid any major ink spills if they are being careful.
4. Professional tools. They could draw with pens and pencils from a regular stationary store, but since they are coming for a comic class, this would be a great opportunity to introduce tools that a comic professional comic artist might use. It will freshen things up. And tools that they will want to keep for years to come.
5. Keep it simple. Just want the most basic tools needed to draw comics since this is a beginner course. Nothing fancy.
THE BASIC COMIC DRAWING KIT
This wasn't as straightforward as I thought. Other than pen and paper, there were also a variety of supporting essentials I had to include. It was hard keeping it to $30 and below! After some deliberation, this is what I've put together, based on what I personally think works best after years of drawing comics:
1. Zebra G-nib- This is a professional comic drawing tool that the Japanese use for comic drawing, even today. It's inexpensive. It allows for line variation by controlling the pressure as you draw. The G-nib is made by 2 brands - Nikko and Zebra. I prefer the Zebra G-nib as it doesn't rust as quickly. It's going to be harder to use than a ballpoint, liner or marker. But the line quality they will be able to produce with the nib will add a special touch to their comics. It will give them a fresh experience!

2. Tachikawa nib holder (T-40)- I was considering cheap wooden holders from Lazada or Shoppee. But I wanted this Tachikawa nib holder because it has a cap which allows the user to quickly cap the pen without disassembling the nib. Imagine, you are drawing while waiting for your bus. Your bus arrives. You still have ink in on the nib. With a cap, you can quickly cap it, pack your sketchbook, grab your bag and get on the bus. Caps are useful. I've been using mine for years. The cap cracked and I taped it, as you can see. It still works well.


Alternatively, you could get one without a cap, roll some thicker paper and staple it to make a cap.


3. Talens drawing ink (Indian ink)
There are many options for this. The main consideration is that the ink becomes waterproof when dry. Meaning, when water touches that dried ink line, it will not reactivate, dissolve or bleed. Most Indian inks are waterproof inks because they contain shellac which helps the ink bind to the paper. I like Talens Drawing ink because it comes in a large bottle, it has a nice consistency (not too thick or thin), and it flows nicely when I use it with all my dip pen nibs, and the ink is solid dark black. Other Indian inks to consider are Winsor and Newton Indian ink, Calli ink. Take note that Indian inks are not to be used in fountain pens. It will clog. Use them only with dip pens.

4. Chinese brush


6. Small spray bottle
I've been using this. It is compact. It keeps the water contained. Water can be applied with one hand and you can increase the amount in small increments. Also, you can use the cap to dilute black ink, and then wash it off at a nearby sink. You can also use an empty perfume spray bottle. It doesn't matter which brand you get. Any spray bottle with a cap will do.


7. 2B pencil
This will be used only for rough sketches. 2B is good because it isn't very dark and it is a soft pencil lead which can be easily erased. I don't suggest using pencils to do the final line work for beginners (even though that can look great) because pencil lines often appear too light, making it difficult to capture clearly with a camera or scanner if you want to share the comic on social media or prepare it for print. I'd avoid super cheap pencils that break or have leads that are not soft enough. Stick to reputable brands like Staedtler or Faber Castell, and Mitsubishi Uni to be safe. As a personal preference, the Uni pencils are my favourite. The lead feels good when I draw with it.

8. Soft eraser
Why soft? It is easier on the paper. This goes hand-in-hand with the 2B pencil when doing rough sketches.

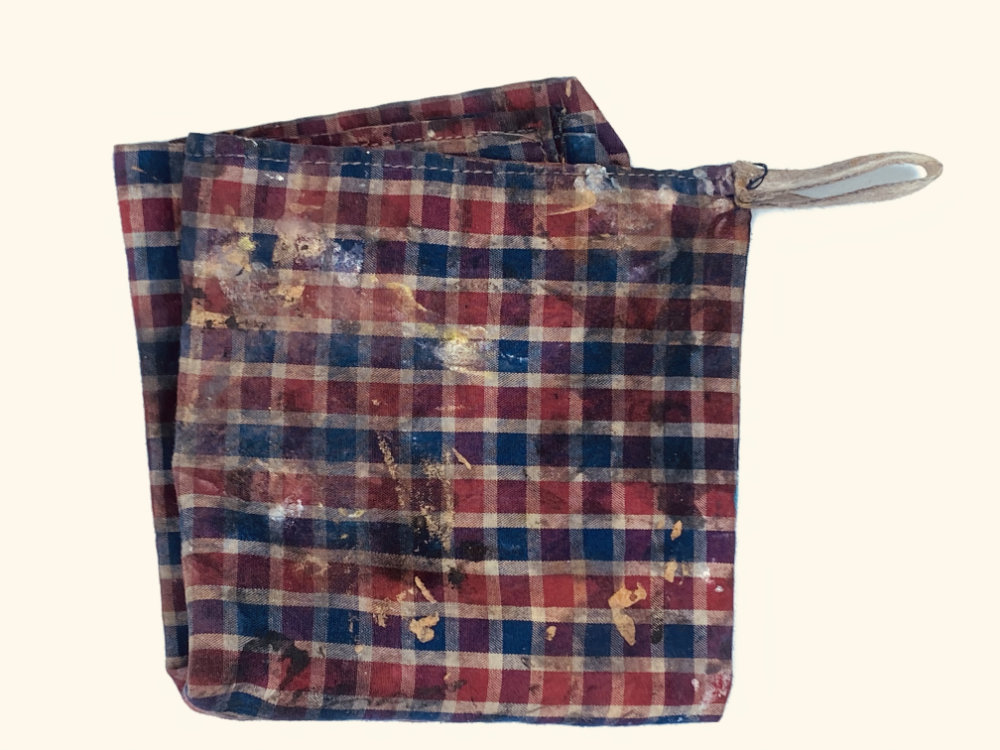
9. Rag
To clean the ink off the nib or any spills. I'd cut up an old shirt that is falling apart or buy a small inexpensive hand towel. Guess what I used to make these. One hint -"Rocky".
10. A4 Acrylic sheet 1.5mm thickness
This provides a hard surface to draw on wherever you are. You can also incline it with some putting books. You can also draw on the go by placing this on your lap and drawing on it. You can find these at an art store or from an acrylic maker/supplier in your country. In Singapore, I managed to get a quote for about $2.50 piece from Dama (if I ordered 30).
You could also use a simple clipboard. But I like that the acrylic sheet can also serve as a Lightbox. Like, if you wanted to trace a drawing from another piece of paper, you could hold this acrylic sheet against a window during the day, let the light shine through, and you can trace an image into your comic. That's a small bonus.

11. Paper clip
Secures paper to the acrylic sheet. I'm sure you can find this anywhere.

12. Paper
I use regular Double A 80-100gsm smooth white photocopy paper. This does the job. It might bleed through a little. But it holds the ink decently. Good enough for beginners.
For me, fancier paper can make me overthink and take fewer risks because I don't want to "ruin" the paper. With photocopy paper, I'm not thinking about the paper, I can just focus on telling an interesting story. If I mess up, I don't think twice about using up another piece of paper. (Of course, I don't mean we should be wasteful. Save the trees, right?) Oftentimes, when I'm not concerned about the paper, I end up with a comic I'm happy with and don't end up wasting any paper in the end.
Also, if you are going to scan or photograph the comic, the main thing is that the ink marks come across clearly. And the paper is able to hold the ink. As a rule of thumb, don't go with anything thinner than 70gsm. Don't go with jotter book paper. Those papers will not hold ink well and the ink will bleed like crazy. Stick to smooth white photocopy paper as an economical option. Move up to drawing block cartridge paper if you like. And if course, watercolour paper is the priciest option.


13. Soft plastic folder with button.
This will keep everything together for portability. With the acrylic sheet stored in this, it is less likely that the Chinese brush hairs will be damaged and the papers won't get crumpled.

USING THESE MATERIALS TO DRAW A COMIC
1. I get everything out of the folder. I use a pencil and eraser to complete the pencilling stage on paper.


1. Zebra G-nib - Comes in a pack which can be split among a few students.
2. Tachikawa nib holder (T-40) The plastic buttoned file should keep the nib safe.
3. Talens drawing ink (Indian ink) -This can be shared with many people. Even a class of 30.
4. Chinese brush - I have not tested these brushes in this link. But they should generally be fine. In Singapore, I'd get them from a Chinese brush store at Bras Basah Complex.
5. Mini ink bottles -This is really difficult to find. My friend Roger found this seller that sells it. This can be split among a few people.
6. Small spray bottle
7. 2B pencil
8. Soft eraser - If you want to erase without any dust at all, try a kneadable eraser. Perfect for pencilling and erasing while on your bed. It does cost a little more.
9. Rag
10. A4 Acrylic sheet 1.5mm thickness or a regular clear clipboard (then you won't need a paper clip).
11. Paper clip
12. Paper
13. Soft plastic folder with button - In Singapore, you can find these at neighbour stores for $1.50.
After getting the tools together, go out and draw some comics!
Comments